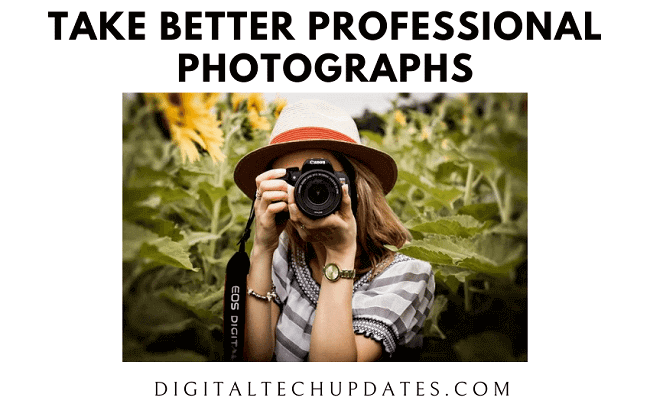
Ever more powerful and sophisticated smartphone cameras tempt us to imagine we’re all professional photographers inside.
Of course, that’s not quite right. Professional photographers get to call themselves professionals for a reason. They have far more training and experience than the average selfie-snapper.
Despite what Apple’s marketing team might have you believe, the best digital cameras still beat out the latest smartphone camerason image quality and usability. That could change at some point in the future, but for now, serious photographers know that an iPhone or Galaxy won’t cut it.
Whatistrue is that the average person no longer needs to hire a professional photographer to take and edit great professional photographs. Whether you’refinallyupdating your headshot or creating a media kit for your growing company, you can skip the expense and awkwardness of a hired photographer and do it yourself (with some help).
Here’s how to pull it off.
1. Plan Your Shots
You plan everything else. Why not your not-quite-professional photo shoots?
Take inspiration from your peers’ photo content. If you’re an executive putting together a media kit for yourself and your company,this Flickr profile is a good example of the types of shots you’ll want. If you simply need a new professional headshot, a quick Google image search should give you plenty to work with.
2. Establish a Collaborative Workflow
Unless you’re the only person responsible for taking and editing your photos, you need a collaboration framework to keep everything straight. Flickr is good for actual photo storage and has collaboration tools suitable for small teams. If your workplace already uses Google Drive or Atlassian-suite collaboration tools like Trello, those work too.
3. Learn and Follow the Rule of Thirds
Great photographers tend to follow the “rule of thirds.” They break up their photos into horizontal and vertical thirds, or nine squares total.
When taking action or landscape shots, avoid splitting the composition 50/50. That is, avoid placing important elements or points of symmetry in the center square. Keep your subject or focal points off-center to allow for more context or visual variety. It sounds counterintuitive, but the eyes and mind work in strange ways.
The exception to the “off-center” rule is the professional headshot. Your face might not be centered on the central square, but it’ll certainly occupy it, and that’s OK. You do still want to angle your body (or at least head) so that you’re “open” to one side of the photograph or another. Otherwise, you’ll seem to crowd the frame.
4. Don’t Selfie Your Headshot
It’s tempting, especially if you’re a solo professional without an assistant to call on at a moment’s notice. But it’s not going to produce the best possible results — or even minimally acceptable results. Not even with a selfie stick.
In the worst-case scenario, you can pull in a friend or family member to take your headshot. You’ll owe them a favor, but you’ll still come out ahead of where you’d be had you used a professional photographer.
5. Respect the Golden Hour
The “golden hour” comes in the early evening. Exactly when it comes and how long it lasts depends on the season, latitude, and weather conditions, but it’s predictable enough. And it’s the best time to take outdoor photos without supplemental light.
Take advantage of the golden hour whenever you can. Otherwise, plan outdoor shoots for cloudy days. Cloud-filtered light isn’t as effective as golden hour light, but it’s better than bright sun.
6. Use Digital Zoom Sparingly (If At All)
Digital zoom is fine for low-resolution photos that you expect to appear as thumbnails or gallery inserts. But that’s probably not how you want to present professional-grade photos, and certainly not the contents of your media kit. So resist the temptation to over-zoom and get closer to your subjects when possible.
7. Upgrade Your Lighting Setup
You don’t need to outfit an entire photography studio, but a ring light (not overhead fluorescents) is basically table stakes at this point. If you have a sunlamp, that can work in a pinch on one of the warmer light settings.
8. Use a Tripod and Laptop Camera Holder
Same deal here. These are one-time investments that can eliminate your need for a professional photographer forever. The learning curve isn’t as steep as you might imagine either.
Beyond the Professional Headshot
It takes time to get really good at taking pictures. But solid personal and corporate photography doesn’t require professional-level skill. These eight to-dos will get you most of the way to where you need to go.
Don’t overthink it either. A surprising amount of photography is common sense — getting the right frame, waiting for or creating good lighting, keeping shots level. You’re already better at it than you imagine yourself to be. And that’s good news if you’re done with professional photography.


